[Maya]Hierarchical Structure of Skinned Mesh in FBX for Unreal
Keywords: Maya, Skeletal Mesh, FBX, UE4, UE5, Animation
Issue
If export skinned mesh and rig to FBX file from Maya, then import FBX into Unreal Editor, and use the existed skeleton in Unreal, Unreal Editor may pop error even skeleton hierarchy is matched.
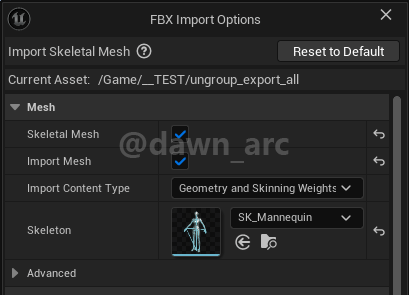

FAILED TO MERGE BONES:
This could happen if significant hierarchical changes have been made
e.g. inserting a bone between nodes.
Would you like to regenerate the Skeleton from this mesh?
WARNING: This may invalidate or require recompression of animation data.
This is because Unreal’s FBX importer for skinned mesh is fucking messed: Unreal will convert Group(Maya) to Virtual Bone(UE) when import skeletal mesh from FBX.
Solution
How to avoid this issue when importing FBX?
This’s the structure of skinned mesh exported from Unreal Editor (FBX file).
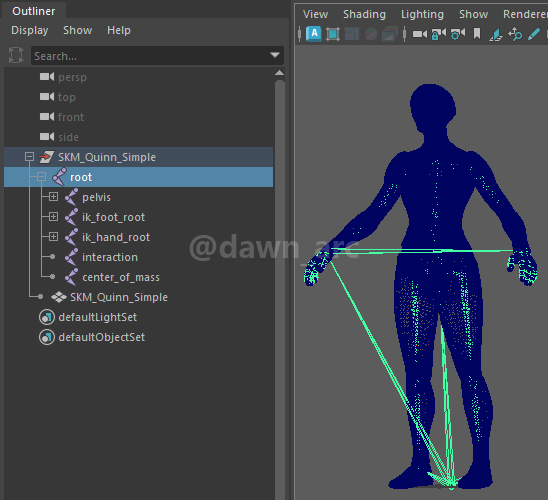
Firstly we need to ungroup rig and mesh, you will see the mesh will be rotated automacially after executing ungroup.
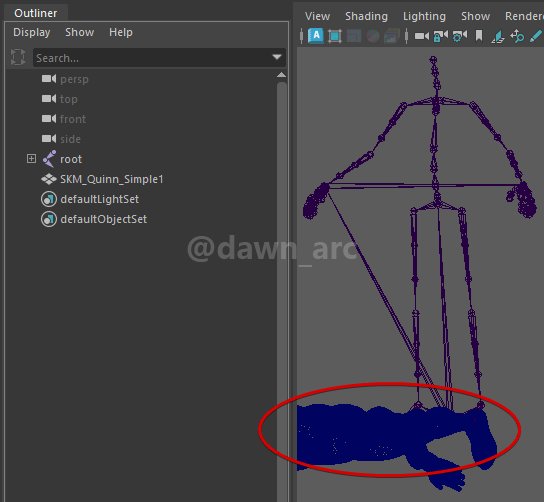
If you want to rotate the mesh, you will find that the transforming operation was disabled.
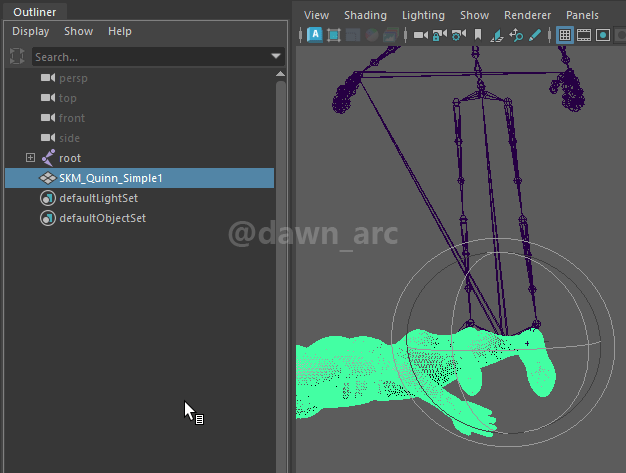
This’s because the animation frames depend the current pose (use default pose as reference pose).
But we have another way to achieve it: create a Locator. (Create -> Locator)
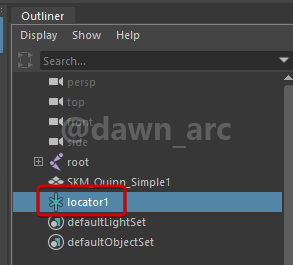
Then parent the mesh under the locator, then you are able to tweak the rotation.
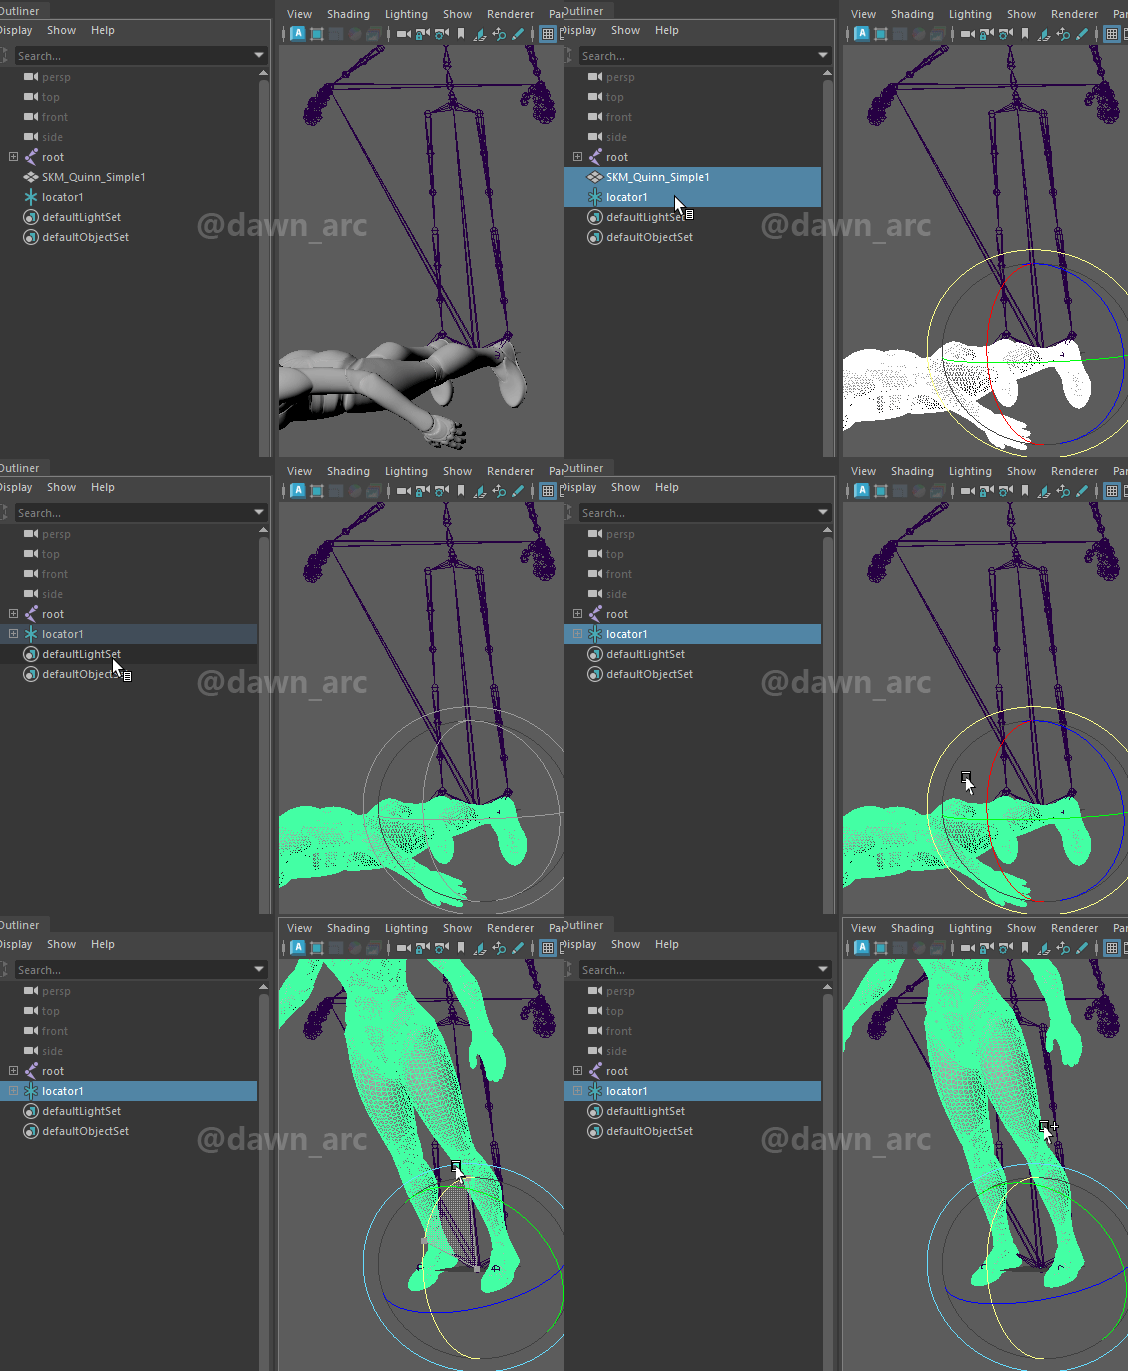

The final hierarchical:

At last, you export them to FBX file.
There is an issue on Maya FBX plugin, pay attention while exporting:
Export All instead of Export Selection, even you selected both mesh and locator, otherwise the warning window will be popped again.
If you want to find out about the road ahead, then ask about it from those coming back. -Chinese Proverbs