[Photoshop]How to make alpha texture (mask)
keywords:Photoshop, How to make alpha texture (mask), Opacity Map, Blood, Dripping, Smoke, Shadow
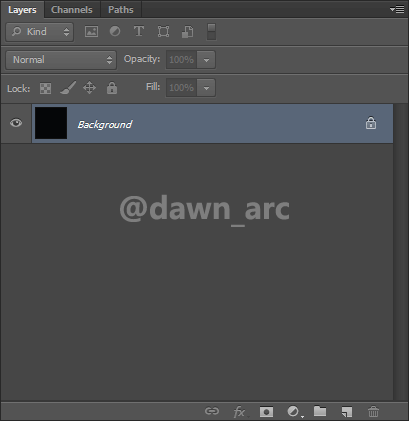
1, Open the original image that you want the alpha making from.
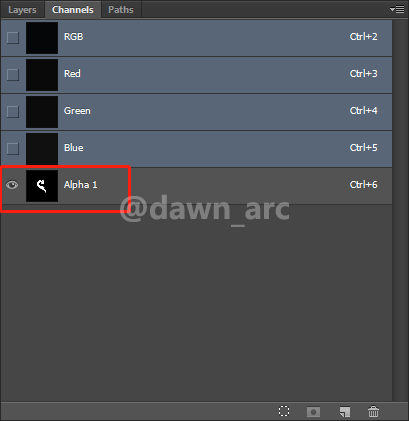
2, switch to Channels panel:
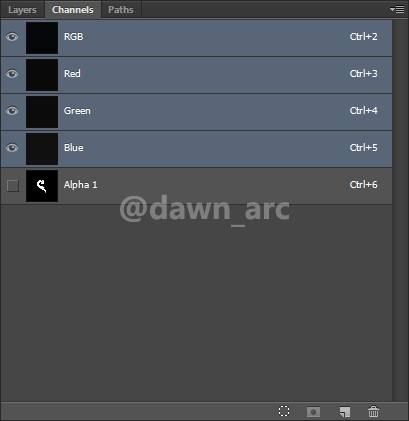
3, Hide the RGB channels and display the alpha channel.
4, Choose the Magic Wand Tool.
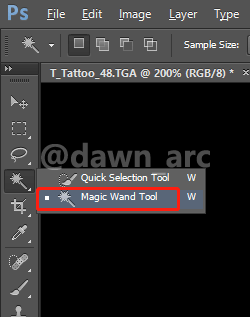
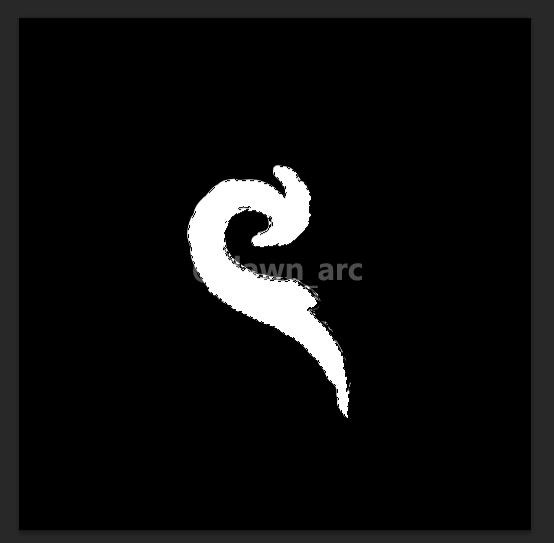
5, Select the area that you want to making alpha (mask).

6, After selection accomplished, press Ctrl + C to copy the selected area.
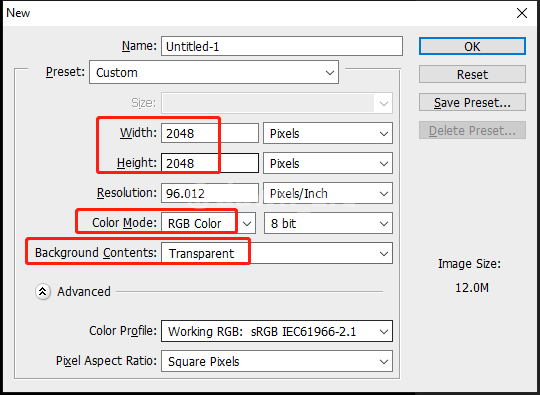
7, Press Ctrl + N to new a document, and set the width and height as the same as the original image. Set the Color Mode as RGB Color,
and set Background Contents as Transparent:
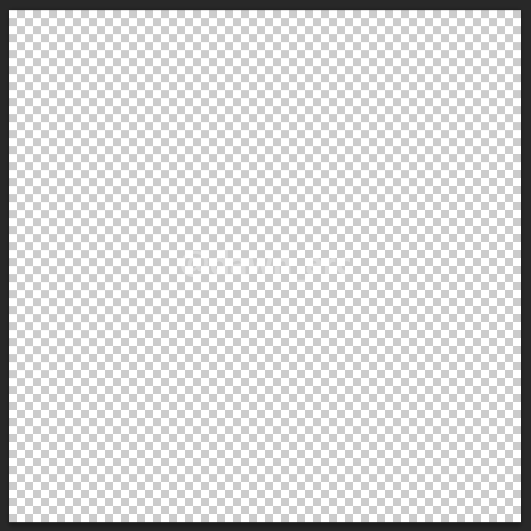
8, Now press Ctrl + V to paste the copied area previously.
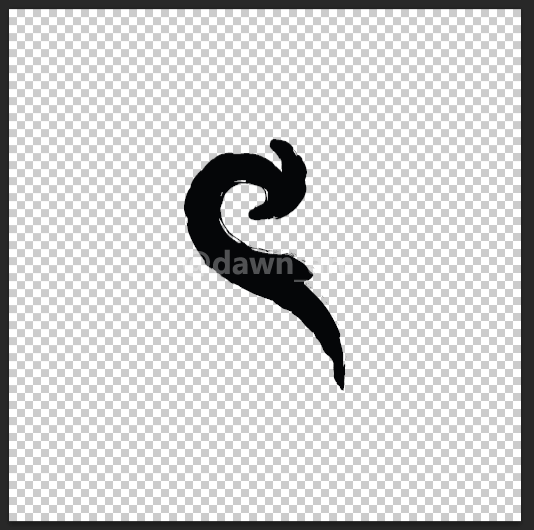
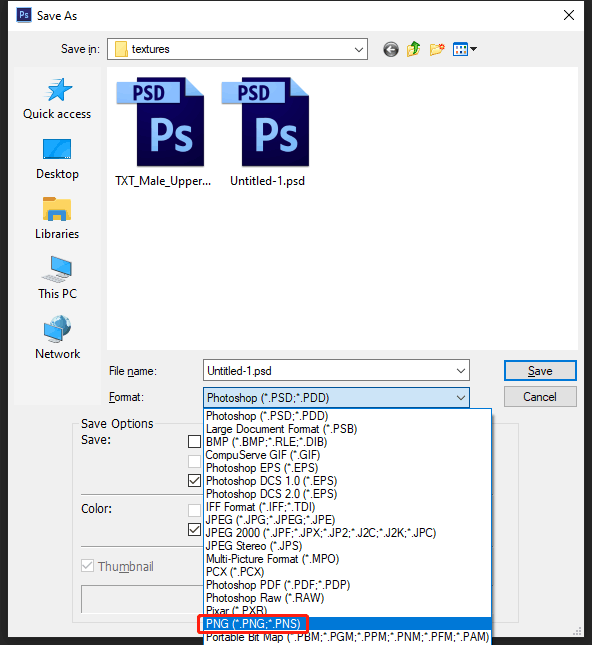
9, Then save the current document as PNG.
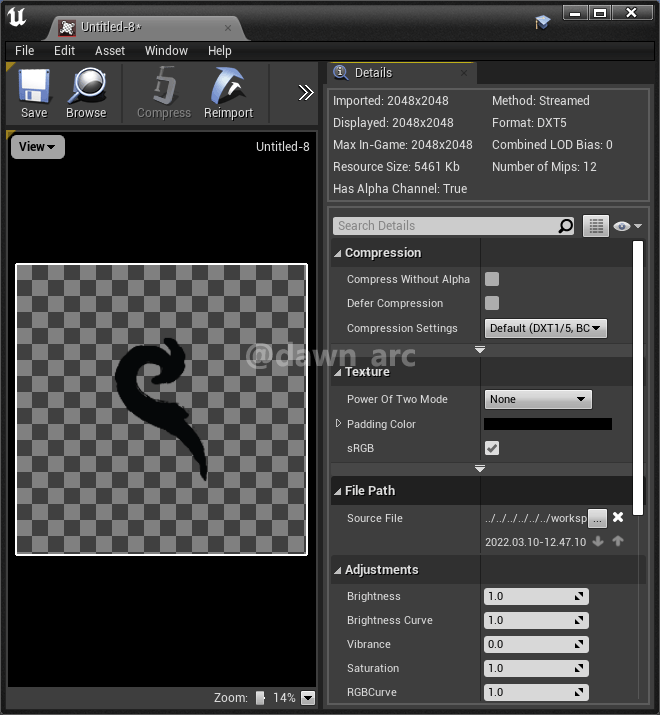
10, Now you can open the PNG using other application to see if there’s an alpha channel. e.g. Unreal Engine:
If want to adjust the position of selected area, you need to paste the selected area to new document with specified size, then save as PNG, then open this PNG, then copy and paste the alpha layer to destination.
References
How to remove white background and make it transparent in Photoshop (Recommended)
https://www.youtube.com/watch?v=z7dy7AXk65M
Adobe Photoshop CC | How to Make Alpha or Opacity Map
https://www.youtube.com/watch?v=MWnPBDCZyaQ
Painting SHADOW MAGIC - Art tutorial
https://www.youtube.com/watch?v=8pMKhlkR7VY
Photoshop Stylized FX Texture Tutorial | Free PSD
https://www.youtube.com/watch?v=rVHaFfsuoeg
“One does not become enlightened by imagining figures of light, but by making the darkness conscious.” ― Carl Gustav Jung