[Maya]Rigging 17 - Clavicles & Fingers
Keywords: Animation, Maya Rigging, Controller, Clavicles, Fingers
Maya Rigging series of articles:
- [Maya]Rigging Overview
- [Maya]Rigging 01 - Joint
- [Maya]Rigging 02 - Skinning
- [Maya]Rigging 03 - Visualization
- [Maya]Rigging 04 - Controller
- [Maya]Rigging 05 - Attributes
- [Maya]Rigging 06 - Foundations of IK
- [Maya]Rigging 07 - Advanced IK
- [Maya]Rigging 08 - IK FK Switch
- [Maya]Rigging 09 - Spine FK
- [Maya]Rigging 10 - Spine IK
- [Maya]Rigging 11 - Neck and Head
- [Maya]Rigging 12 - Limbs FK
- [Maya]Rigging 13 - Limbs IK
- [Maya]Rigging 14 - Space Swapping
- [Maya]Rigging 15 - Arm Twist
- [Maya]Rigging 16 - Ankles & Heels
- [Maya]Rigging 17 - Clavicles & Fingers
- [Maya]Rigging 18 - Common Tricks
Asset mentioned in articles: UE5 Rig
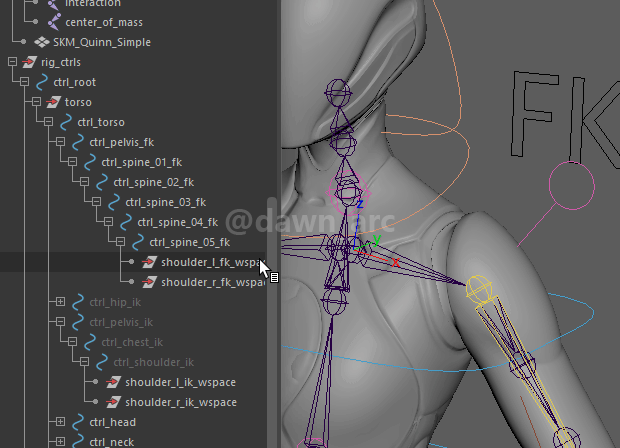
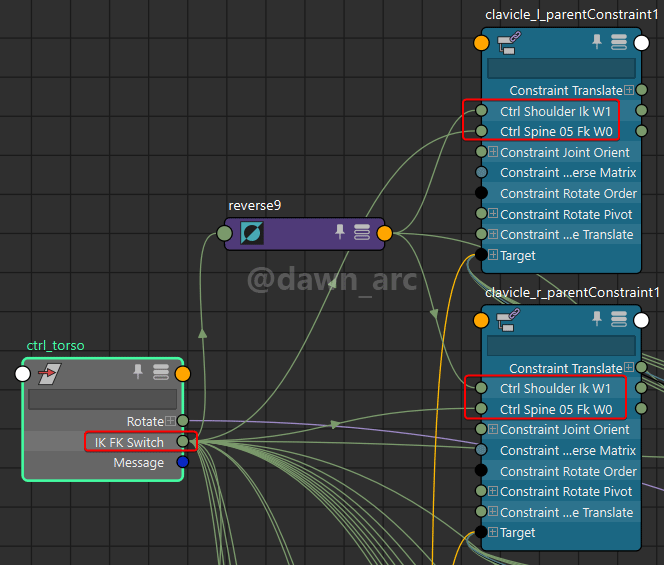
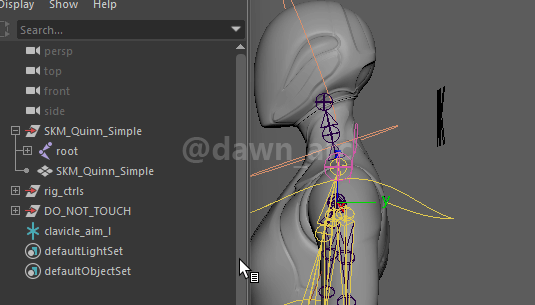
Clavicles Control issues: Location & Rotation
There’re two issue with clavicles:
1, If move shoulder controller up and down, clavicle joints didn’t follow with shoulder.
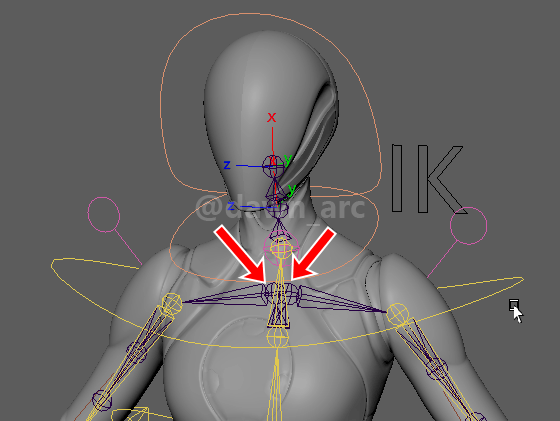
2, If move arm root controller, clavicle joints don’t oriente to shoulder.
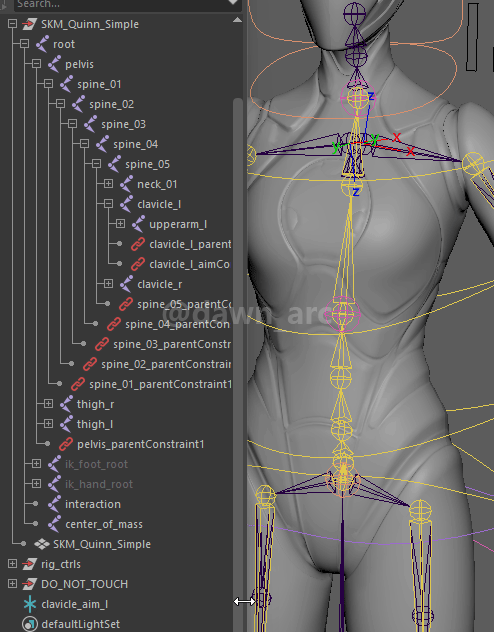
Fix Location issue
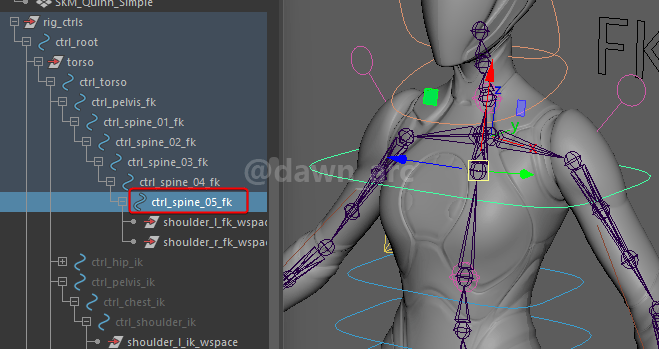
1, As the follows shown, there are two controllers for shoulder: Ik and FK.
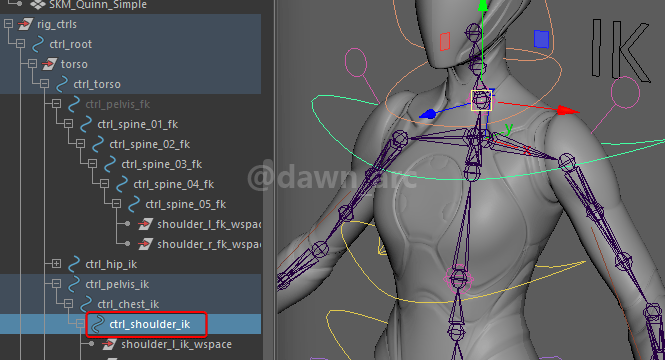
Select both shoulder IK controller first, then select clavicle, then Parent Constraint: uncheck Rotate.
Result:
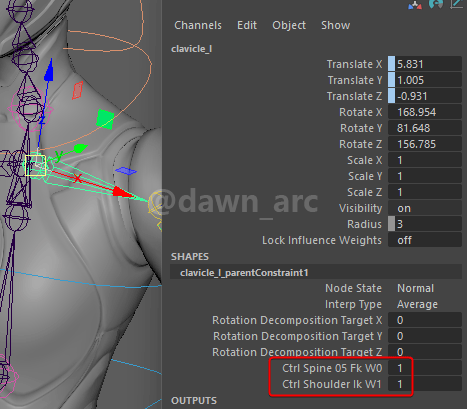
Do the same for right clavicle joint.
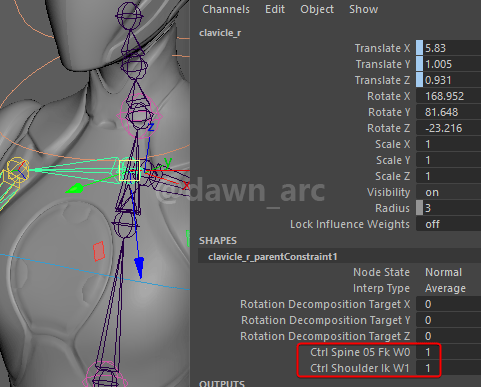
2, Build IK FK switch for the constraints.
Result:
We can also test if rotation works or not.
Fix Rotation issue
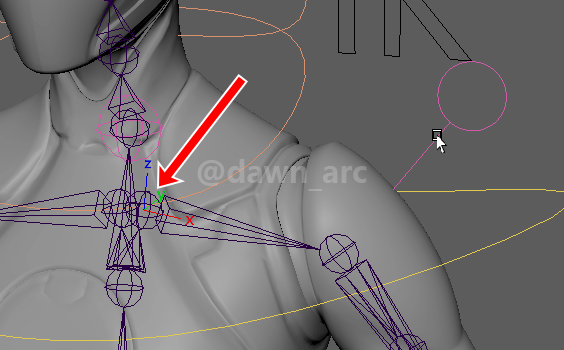
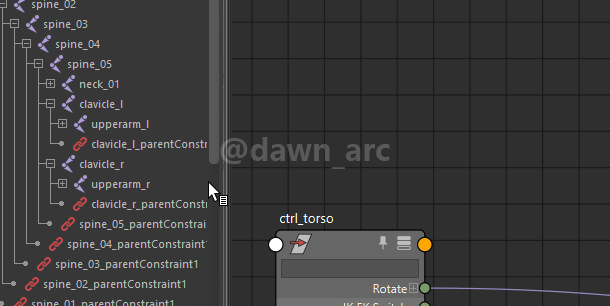
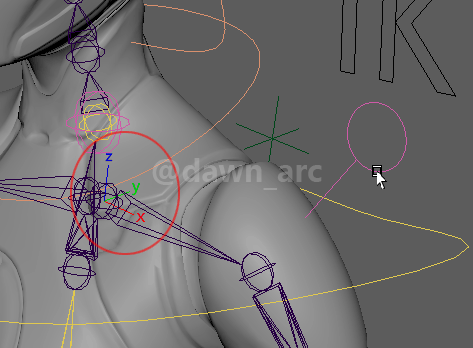
1, Create a locator named clavicle_aim_l.
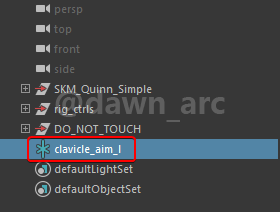
2, Match Transformations from clavicle_aim_l to clavicle_l joint.

3, Move backward the locator. The movement direction is the Up Vector (Axis Y) of clavicle aiming direction that we expect to. No worries, we will explain it afterward.
Just move backward, don’t move left or right, up or down. Because the movement direction is the Up Vector (Axis Y) that we need to use later.
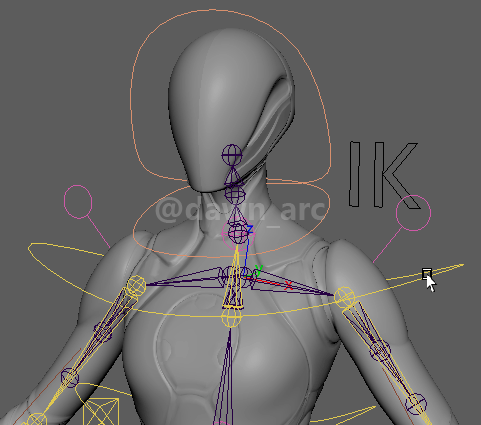
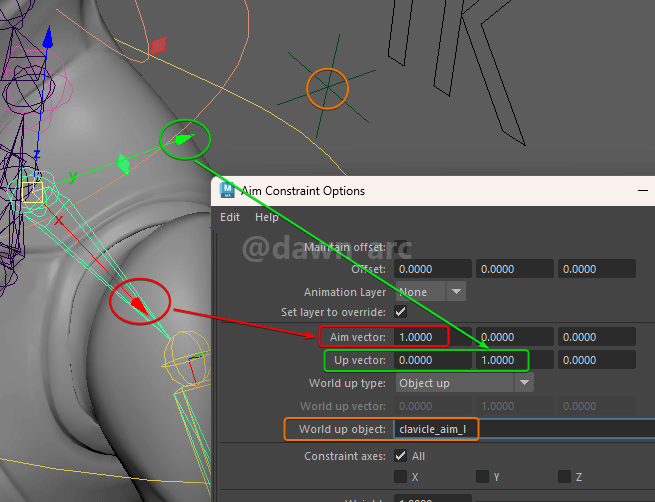
4, Select arm root controller first, then select clavicle joint, then create Aim Constraint:
Set World up type as Object up, then input the locator name that we created beforeward.

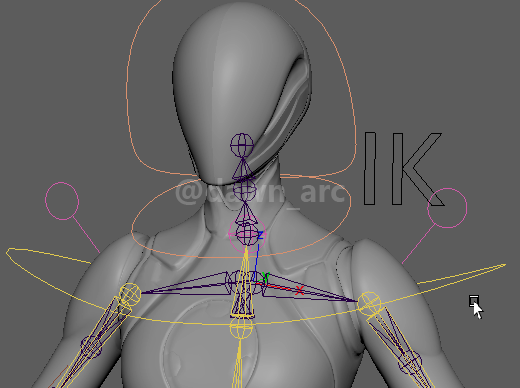
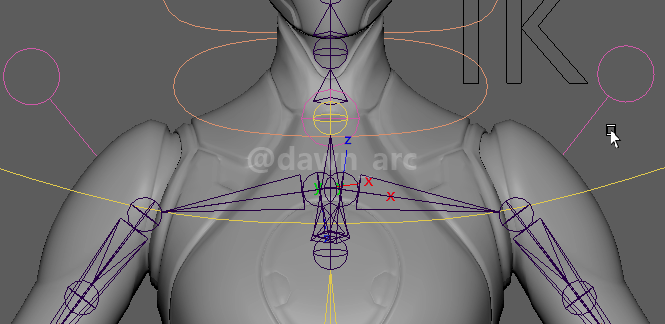
Then when we move the arm root controller, the clavicle joint rotated to aim to arm.
Comparison:
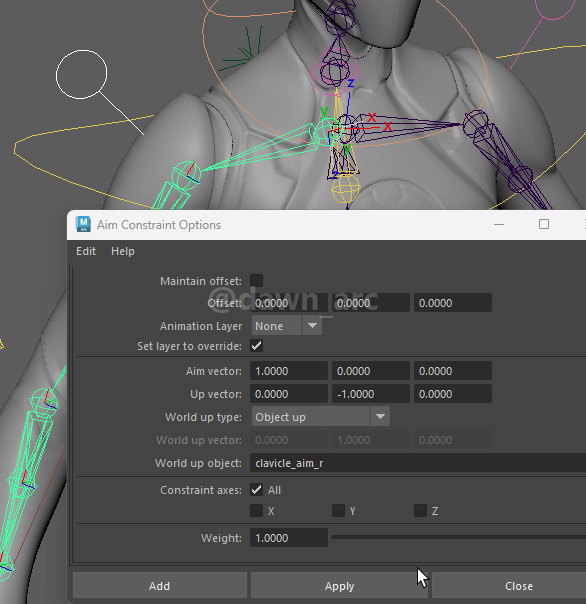
Left clavicle joint aims to arm root joint, right clavicle joint doesn’t.
5, Parent the locator into spine_05 joint to keep the locator follow with shoulder.
Now we explain how to input the Aim Vector and Up Vector:
- Aim Vector is the direction clavicle joint want to orient to.
- Up Vector is the Y axis of plane that belonged to normal vector (Aim Vector).
The Aim Vector and Up Vector for right clavicle joint:
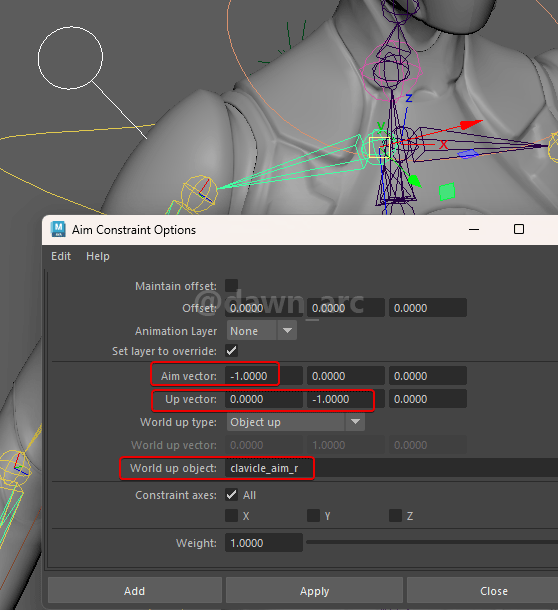
If Aim Vector or Up Vector is wrong, then the clavicle joint is deformed.
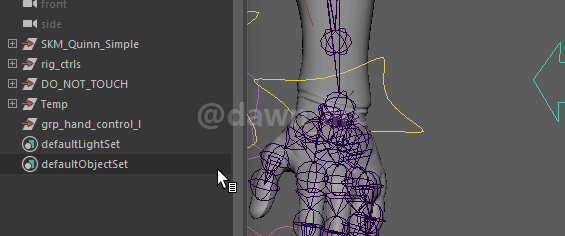
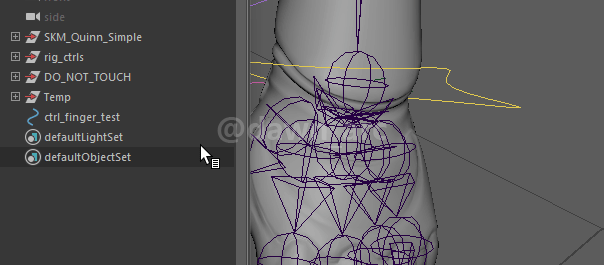
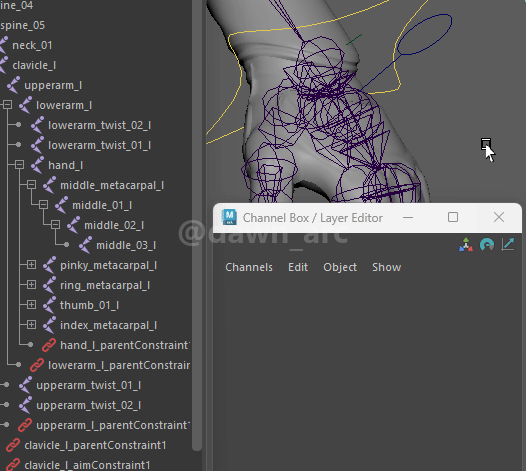
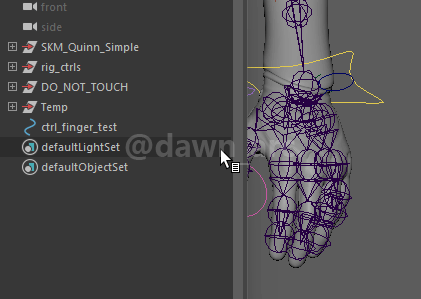
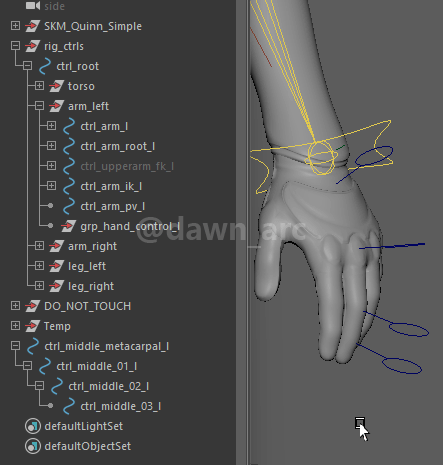
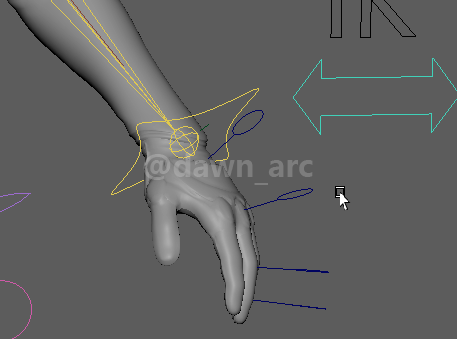
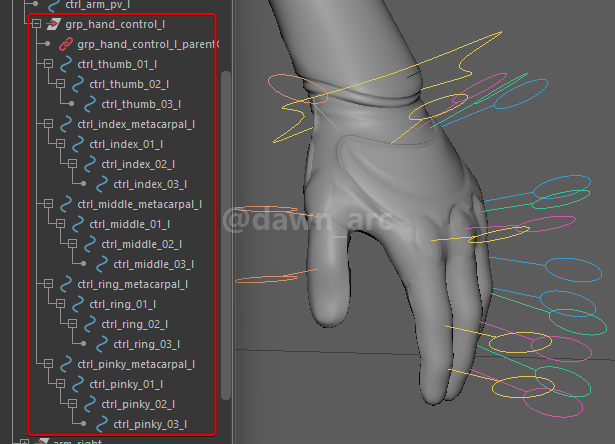
Fingers Control
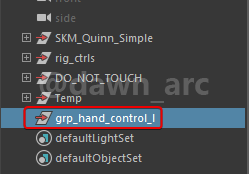
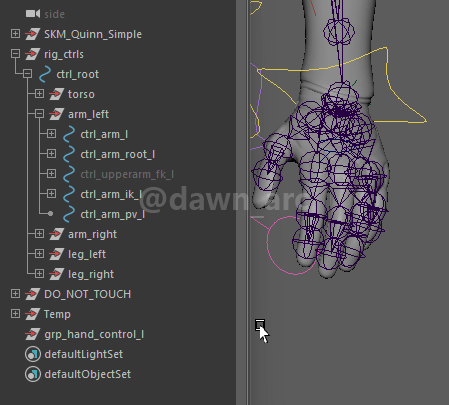
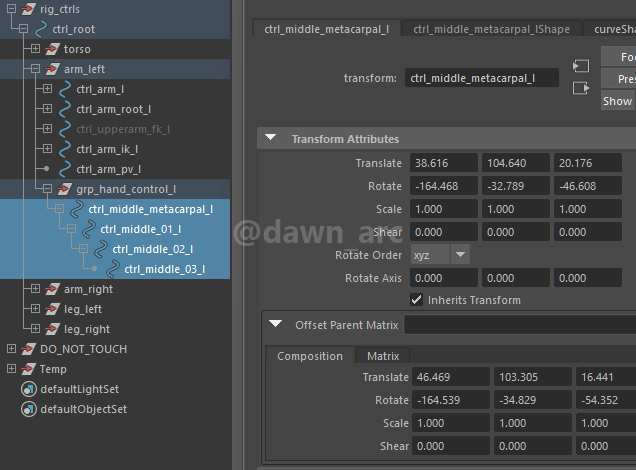
1, Create an empty group named grp_hand_control_l.
2, Match Transformations from group to the hand_l joint.
3, Parent group into arm_left group.
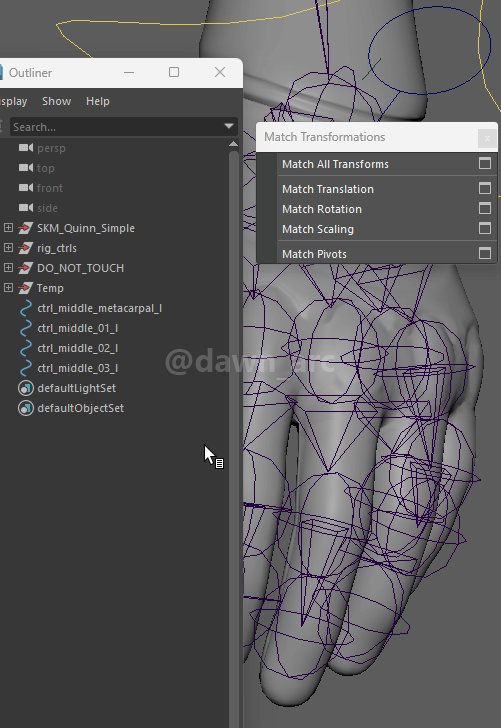
4, Now we will carete controller for every finger joint, take the middle finger as an example:
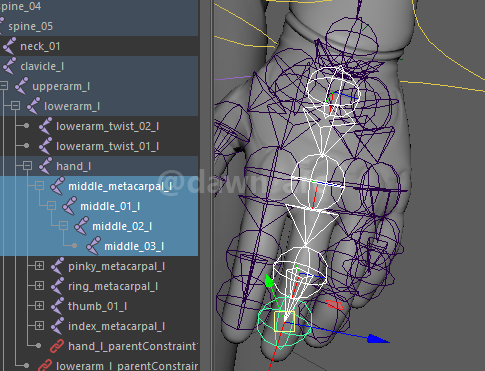
Create a new control curve first.
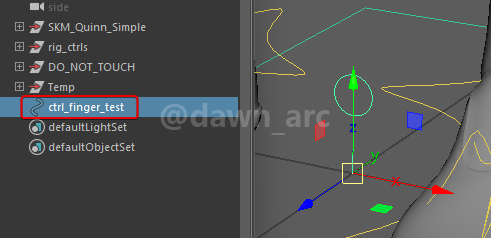
Then Match Transformations from control curve to the middle finger joint.
Then optimize the Offset Parent Matrix of control curve.
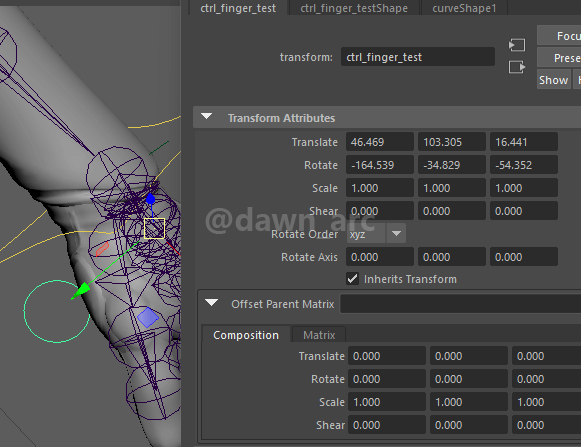
Then adjsut the rotation of control curve.
Change the pivot orientation of control curve at last.
Now we can see the pivot orientation between controller and joint was matched.
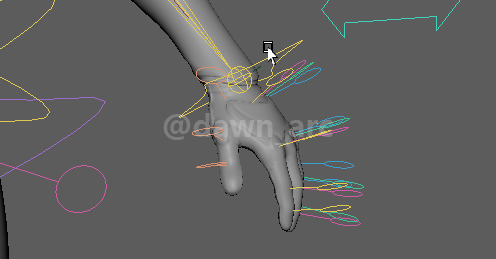
5, Duplicate the control curve we have tweaked just now.
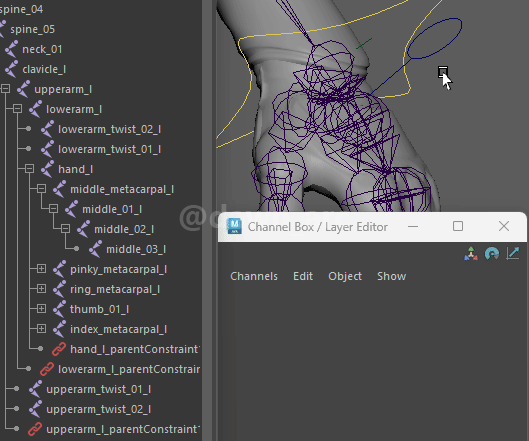
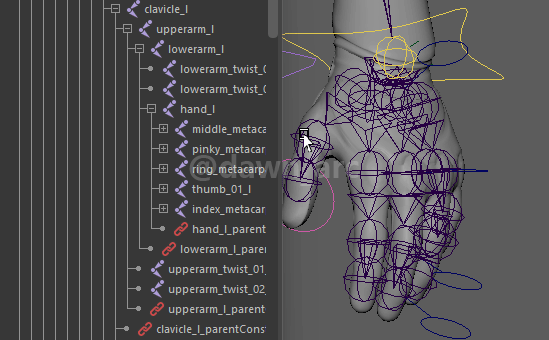
6, Match Transformations for every joints and controllers.
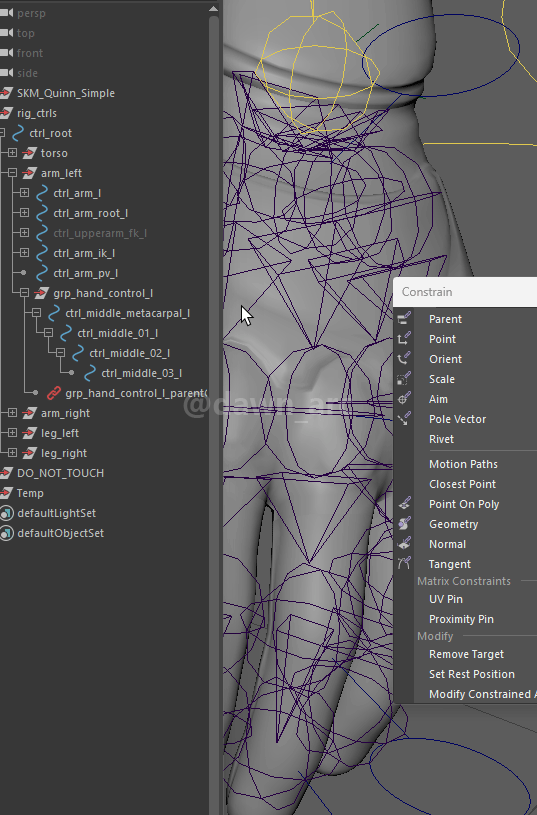
7, Set up the hierarchy.
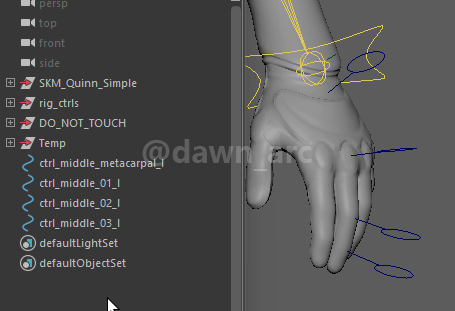
8, Parent the finger controllers into grp_hand_control_l.
9, Create Parent Constraint: drive grp_hand_control_l by hand_l joint.
10, Now the finger controller will follow with hand controller.
If we don’t create Parent Constraint for grp_hand_control_l by hand_l joint, then finger controller will not follow with hand controller after the finger joint constraints have been set.
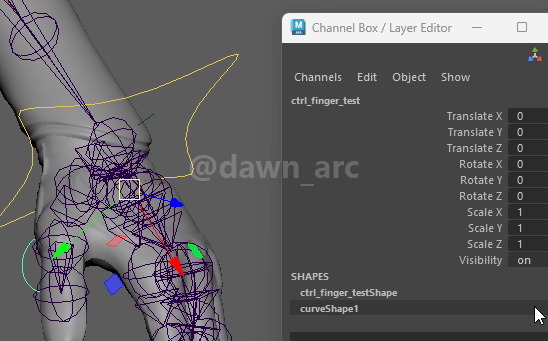
11, Don’t forget to optimize the Offset Parent Matrix for finger controller.
12, Create Parent Constraint for finger joints.
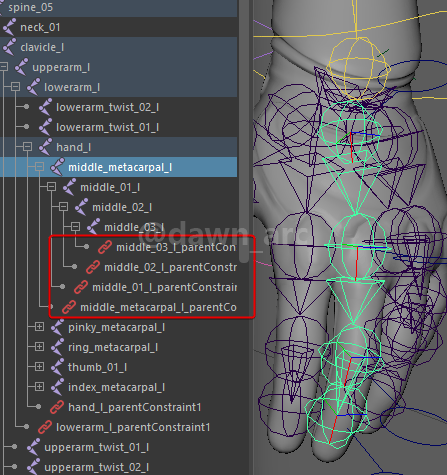
Now we can drive the finger by controller.
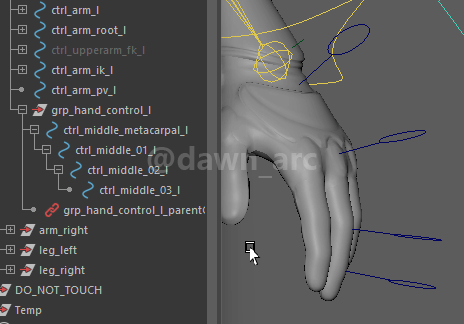
Build the controllers for the rest of fingers.
References
Realtime Creature Rigging Workshop (17 / 19) : Clavicles & fingers
https://www.youtube.com/watch?v=HfAIqYoYwn4
战国战争史:秦魏阴晋之战
阴晋之战发生于前389年,秦国起兵50万讨伐魏国西河郡,被郡守吴起以少胜多击败秦军的著名战争。然而,阴晋之战却没有被《史记》及诸多史料所记载,仅在《吴子》一书中所出现,故真实性有争论。